Start by clicking 'Sign In' button to sign up for a subscription to the QR Code Photo service. Enjoy a free 7-day trial to get started.
Step 2:Navigate to the 'Account' section
Click the account menu and select 'Account' to go to the account settings page.
Click the 'Add Event' button and fill in the event name, date, whether to display the event name on the event and photo pages, and whether to share all photos.
Photos will be uploaded and automatically organized by event, making it easy to manage and access photos specific to each event.
Step 3:Optional - Enable display of contact information and social media links
In account settings, enable the display of contact information and social media links on the event photos pick up page.
Step 4:Copy the API Key
In the API key box, click the key to copy it to your clipboard.
You will need this API key to configure Sparkbooth.
Step 5:Configure Sparkbooth
Open Sparkbooth settings.
Select 'Send to Account'.
Choose 'QR Code'.
For 'Photo Hosting,' select 'QR Code Photos'.
Step 6:Login to the QR Code Photo Service
Click 'Configure,' then paste the copied API key into the 'API Key' field.
Click the 'Login' button to sign in.
Step 7:Select Your Event
After signing in, select the event for which you want to generate QR codes and upload photos.
If you created an event, press the refresh button to see it in the list.
Step 8:Optional - Add a QR Code to Photo Layouts
Go to the layout editor to add a QR code to the event's photo layout.
Select the 'QR Code Photos Service' under QR Code Properties.
This will place a unique QR code on each rendered photo, allowing guests to access their digital copy after it's uploaded.
Step 9:Start Your Photo Booth Event
Close the settings dialog. Your photo booth event is now ready to start.
Step 10:Display QR Codes During Sessions
During each photo booth session, the QR code will be displayed on-screen for guests to scan with their mobile devices.
Step 11:Upload Photos Later (If Needed)
Photos that couldn't be uploaded will be queued in the 'Send Photo Later' queue.
Once internet is available, select 'QR Code Photos'
Press 'Send Photos' to upload them
Guests can then revisit the webpage via the QR code to view their photos.
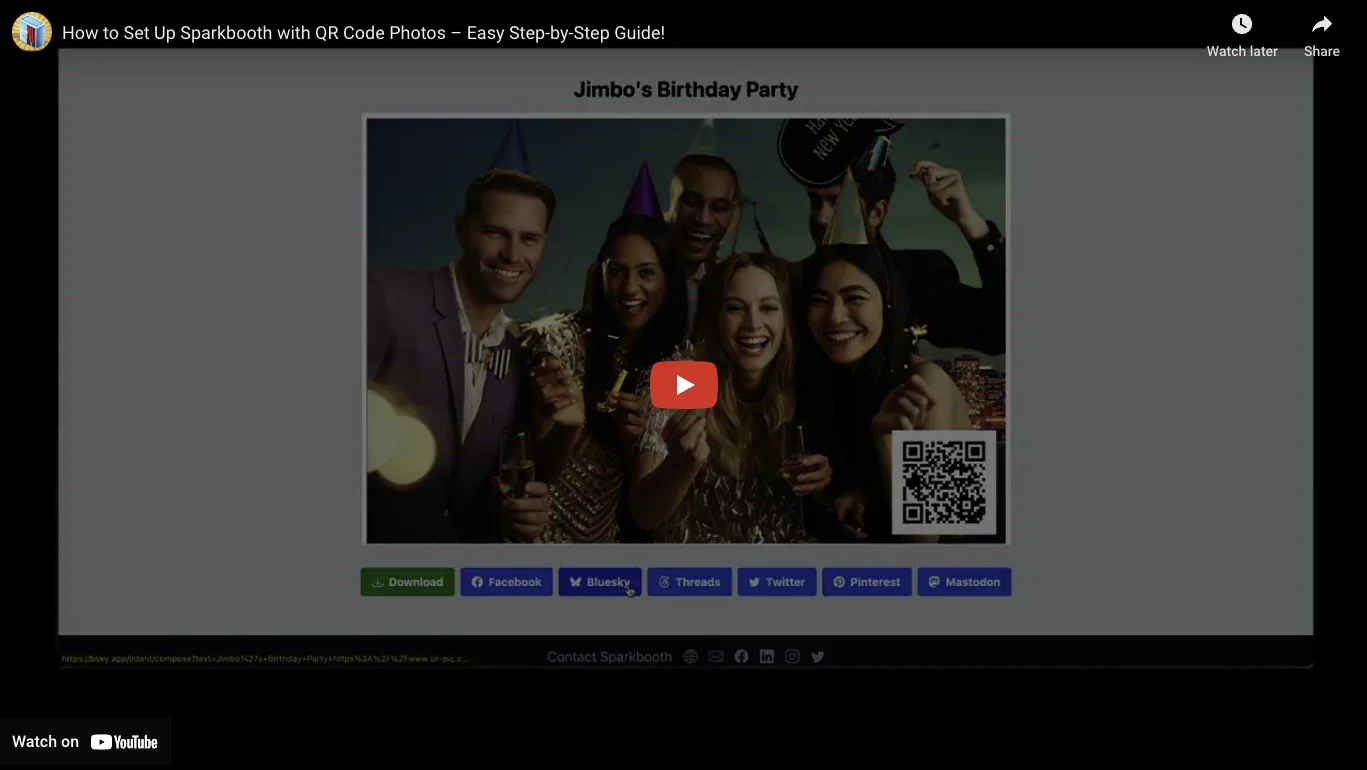
Step 12:Photo pick up page
After the event, guests can view their photos on the photo pick up page.
They can also download their photos or share them on social media.
If you have enabled Show Event Name, the event name will be displayed on the photo pick up page.
If you have enabled Share All Photos, a button to view all photos will be displayed on the photo pick up page.
If you have enabled the display of contact information and social media links, they will also be displayed on the photo pick up page.
You can hide photos by clicking the 'Hide' button on the photo on the QR Code Photos account page.
Views are tracked as Photo Views on the QR Code Photos account page.
Downloads are tracked as Photo Downloads on the QR Code Photos account page.
Placeholder pick up page
If you have not uploaded any photos, the pick up page will show a placeholder image.
Event page displaying all event photos
If you have enabled Share All Photos, a button to view all photos will be displayed on the photo pick up page leading to the event page.
The event page displays all photos taken during the event.
If you have enabled Show Event Name, the event name will be displayed on the event page.
If you have enabled the display of contact information and social media links, they will also be displayed on the event page.
You can hide photos by clicking the 'Hide' button on the photo on the QR Code Photos account page.
Views are tracked as Event Views on the QR Code Photos account page.